Table of Contents
Many candidates choose to go for online resume templates when making applications. While these are easy to find and time-efficient, not all of these are optimized for Applicant Tracking Systems. Another drawback with these online templates is that they are common among candidates. The chances of your competition using the same resume template as you are high. This may impact your chances of creating a good first impression on the recruiter.
In most cases, recruiters can distinguish between an online template resume and a personally crafted resume. Thus, to avoid this chaos and enhance the human readability of your resume, it is generally advised to create your own resume in Word. With this in mind, we will highlight some important aspects in this article to help you create a best-practice resume in MS Word.
1) Headings
Headings are a crucial part of your resume. These help the recruiters distinguish between sections and highlight important information. The most common headings in your resume are your name, section titles, and job titles. Let’s see some tips below on how to optimize headings using Word tabs in your resume.
- Your name should be the first heading for your recruiter to see. It should be large, bold, and distinctive. To do this, choose a size 20-22 for your name in a different color, followed by your job title. Make sure to treat your job title as a subheading, highlighting it by making it bold.
- The next heading is your section titles. The size of these titles could be slightly more than the rest of the content. You can choose to make the text bold and underline it for emphasis.
- You can select a different color for your job titles and make it bold to distinguish it from the rest of the content. The size of your job titles can be the same as the rest of the content. We recommend font sizes of 9-12, depending on your font style.
2) Spacing
Spacing is another aspect that you can use to optimize your resume. Too much or too little content without proper spacing can impact the overall presentation of your resume. MS Word provides multiple options that can help you adjust space in your document based on the volume of your content. Let’s have a look at some options below:
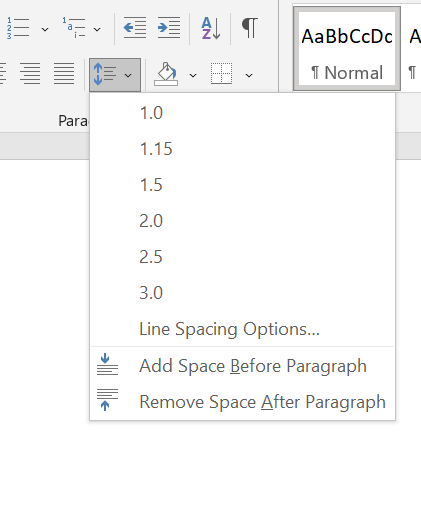
- You can use the line and spacing option under the Home tab, as shown in the image below. The option allows you to choose the existing line spacing such as 1,1.15, 1.5, 2, 2.5, and 3. We suggest adding space of 1.15-1.5 and increasing it depending on the document length. Based on your requirements, you also have the option to customize it under the ‘Line Spacing Options’.
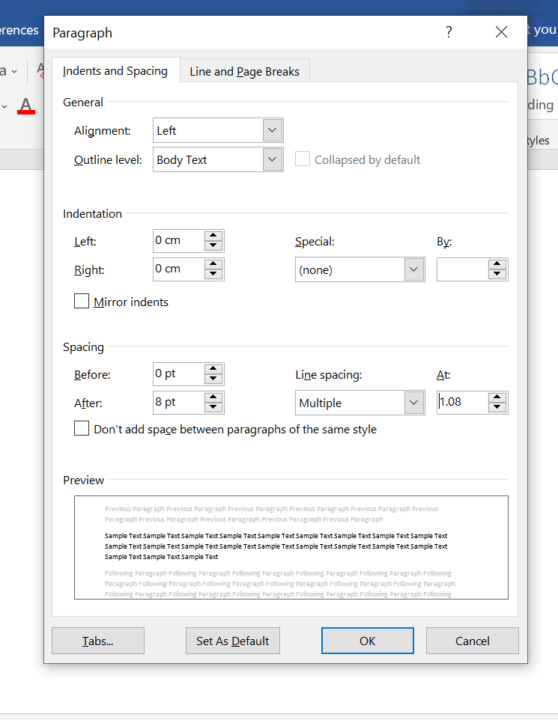
- As shown in the image below, the ‘Line Spacing Options’ button, opens up your options for spacing, indent, and line and page breaks. You can adjust the settings and ‘Preview’ the presentation on the same screen. Once confirmed, you can apply the change to the document.
- The other options are ‘Remove space before paragraph’ and ‘Remove space after paragraph’. Clicking on this will automatically adjust the spacing based on your choice. However, we recommend maintaining consistency throughout the document.
For instance, after each section title, you can change the size of the space to 5 or 6 depending on your content, whereas spacing in some other parts can be different based on your needs. Make sure that the spacing is even throughout the document. You can also increase spacing if your resume is 1.5 pages or reduce it if a small part of your content is spilling over to the next page. Make sure to complement the spacing in your document with the right font size of your content.
3) Margins
Uniform margins are a crucial part of your resume. If you don’t add proper margins on all sides of your document, the content can be misplaced. This can also impact the quality of your resume when you get it printed on paper. Uneven margins negatively affect the appearance of your resume.
Under the ‘Layout’ tab, you can find the ‘Margins’ setting. Like other options, you can choose the pre-set margins or customize them based on your preference. Some options that already exist in the document are:
- Normal
- Narrow
- Moderate
- Wide
- Mirrored
Make sure to consider the volume of your content before selecting a margin type. We suggest going for a ‘narrow’ margin which is 1.27 cm on each side. However, if you do not have a lot of content, you could also go for a ‘normal’ margin, which is 2.54 cms on each side.
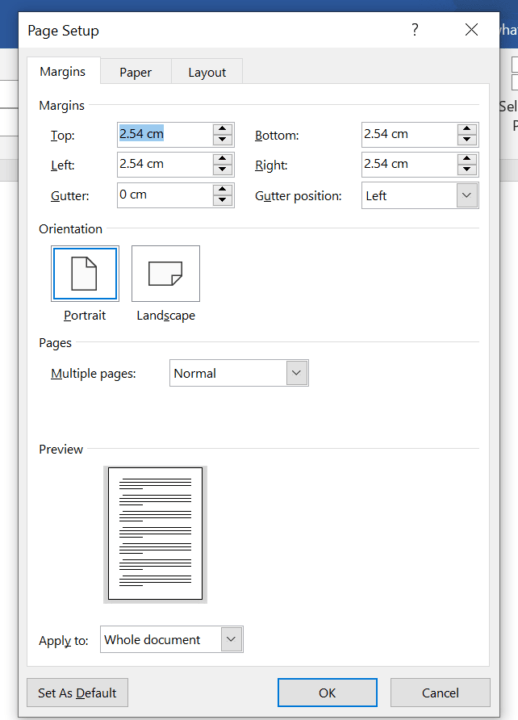
To customize the margins, go to the ‘Custom Margins’ option to open up a Page Setup dialog box, as shown in the screenshot below. Choose the ‘Margins’, ‘Paper’ or ‘Layout’ tab in the box and adjust their settings accordingly. Once you have selected your options, you can either apply them to the current page or replicate them to all pages, making your task easier.
Another additional feature that you can select from this box is ‘Borders’. Under the same dialog box in the ‘Layout’ tab, you can choose Borders and apply one if you require it on your CV. While we don’t always recommend adding borders to your resume as it may take up additional space and not suit a formal document, we leave it on you to decide if you want to add them. In some cases, when you are making applications to a creative industry, you may want to add a border.
In some instances, professionals add their names and a title to the headers in the resume. We do not suggest doing this as it is not the best way to mark your resume pages. This impacts the presentation of your resume and is also incompatible with ATS. Instead, if your resume is longer than a page and you are worried about losing a page or two when printed, you can simply add page numbers in your footers. While we don’t recommend adding headers to your resume, you may add footers based on your requirements.
You can find the option to add footers under the ‘Insert’ tab and choose the design based on your preference. Again, this design could be influenced by your target industry but we suggest keeping it simple. Once you have decided to add footers, you will find multiple options under the Headers and Footers tab. Choose what fits your target company and resume’s tone of voice.
MS Word templates
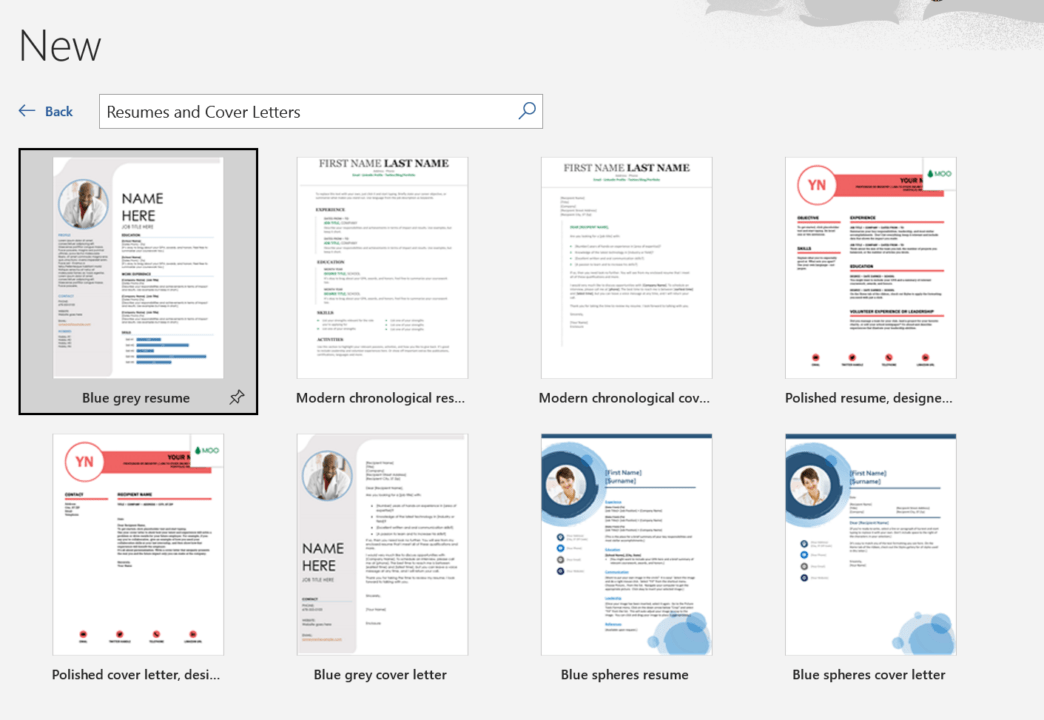
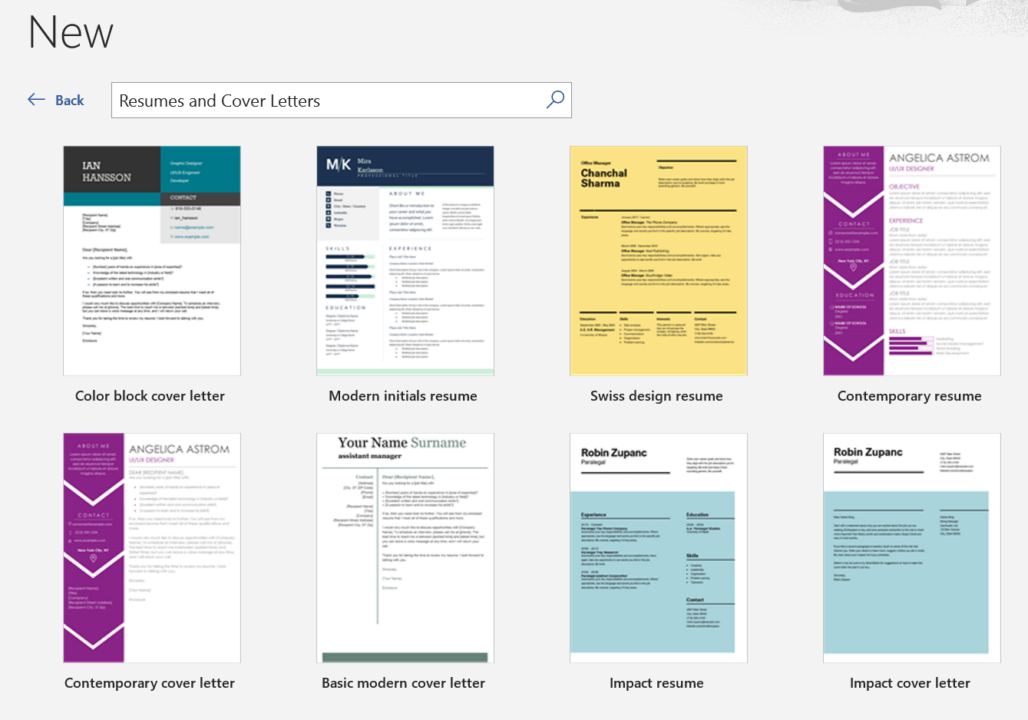
If you are not planning to create a resume from scratch, you can choose resume templates from the already existing options. Word offers a wide variety of templates in different formats, colors, and styles. Whether you want a visual template or a non-visual one, you can select one from the library and customize it based on your target industry and job. You even have the option to complement it with the same type of cover letter template. You can see some examples in the screenshot below.
While choosing an existing MS-Word template sounds easy and quick, we would like to remind you again to ensure it is ATS-optimized and has a great presentation to impress recruiters. Most Word templates have unnecessary designs which may not do so well with Applicant Tracking Systems and impact the readability of a human. Thus, while choosing a template we strongly recommend keeping all such factors in mind. If you believe you need some help with creating a high-quality resume, feel free to reach out to us and we would be more than happy to help you.